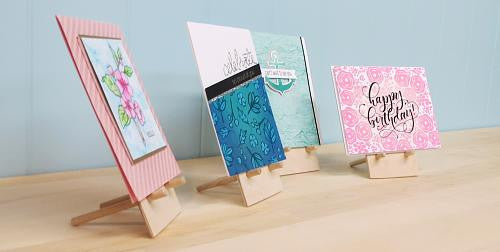

Hi there! These Card Easels are so easy to set up that you'll want to take them everywhere...especially to show off those beautifully made cards! The Easels take less than a minute to set up and can be easily disassembled too, making it perfect to take to those crafting events you attend or setting up to host a craft show!
P.S. since the easels are a part of our Smarter Cubby Kits, these easels come unfinished and can be painted! You can choose to leave the beautiful baltic birch and birch dowels, or you can show off your creative side and design/paint the easels with crafty colors!
Check out how to put these Card Easels together:


This is what it should look like once you've finished step 1.
